

Setup:
Before doing this you want to make sure that you have finished editing your video in Screenflow. This is the last thing you do before you publish your screencast. In this tutorial we are going to:
- Export our video
- Open it in GarageBand
- Edit the audio
- Bring it back into Screenflow
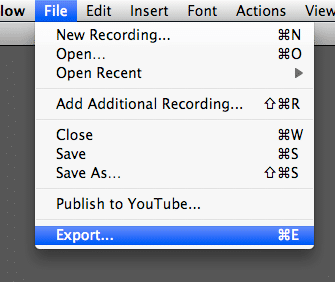
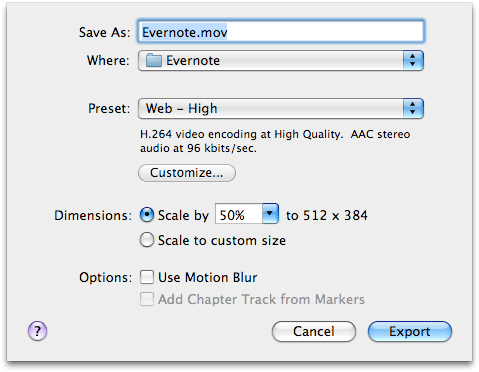
Export Video

Adjust Settings
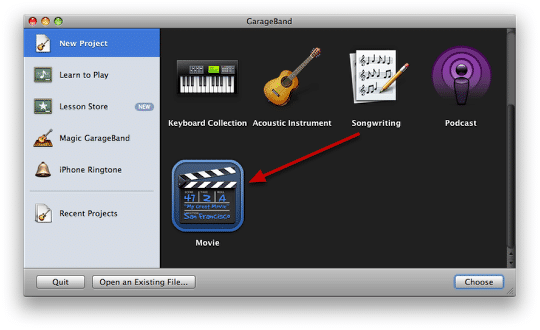
Open GarageBand And Start a New Project

Select Movie
Drag Your Movie Onto GarageBand
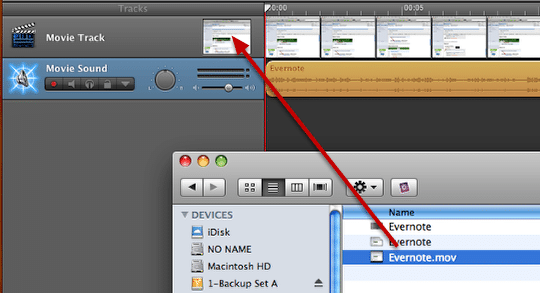
Drag the movie that you exported from Screenflow onto your GarageBand project.
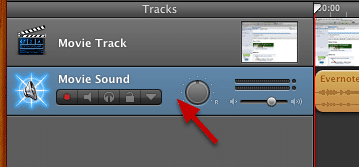
Select Sound Track
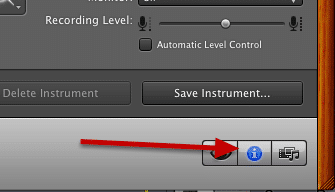
Select Info
Apply a Default Setting
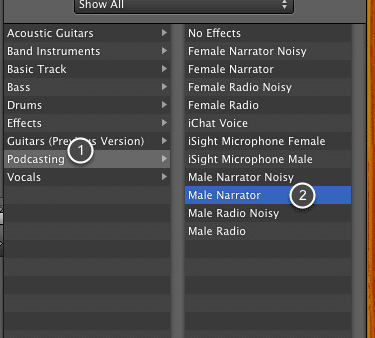
I just use Male Narrator. It applies just a bit of EQ and compression.
Perform Any Other Edits
At this point I usually quickly go through and cut out any pops, clicks or other noises. GarageBand makes this very simple.
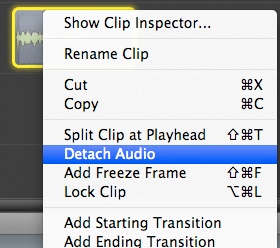
Export Audio
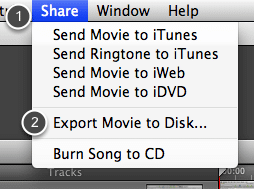
We are just going to export the audio, but to do that we want to select Export Movie to Disk...
Select Expert Setting
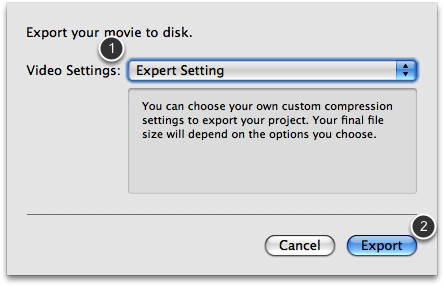
Then click Export.
Set Format and Save
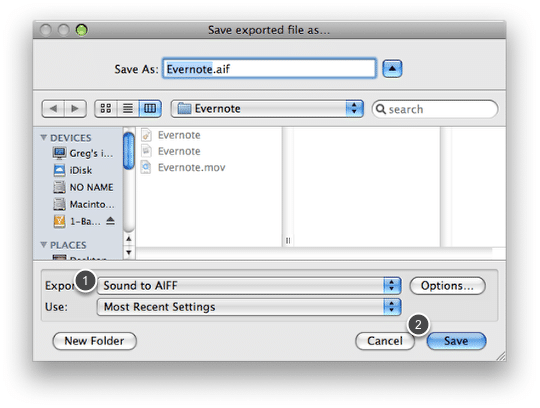
1. Set Export to Sound to AIFF
2. Click Save
Add Audio to Screenflow
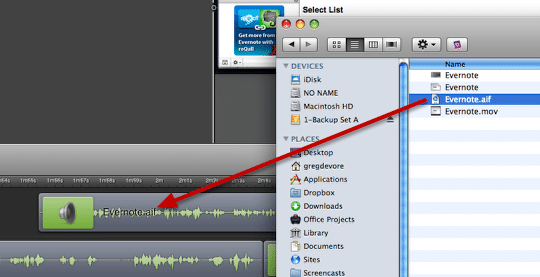
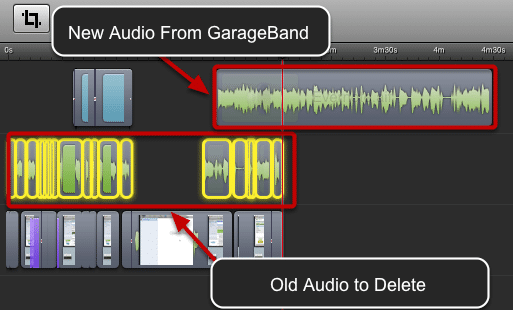
Drag the audio file you just created onto your Screenflow project. A new track will be created.
Delete Audio
Position New Audio
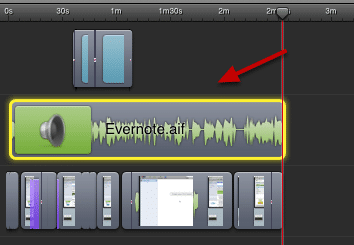
Now just position the new audio file from GarageBand at the beginning of your project. Everything should line up fine and your audio will sound much better.