

Last week on Allison Sheridan's Nosillacast she did a review of Screenflow. In it she mentioned that she couldn't figure out why they have a "rotate video" option. We use Screenflow a lot and are one of the sponsors of the Nosillacast so I thought I would throw together a quick tutorial on why and how you would use the video rotation feature in Screenflow.

Intro Video
Setup
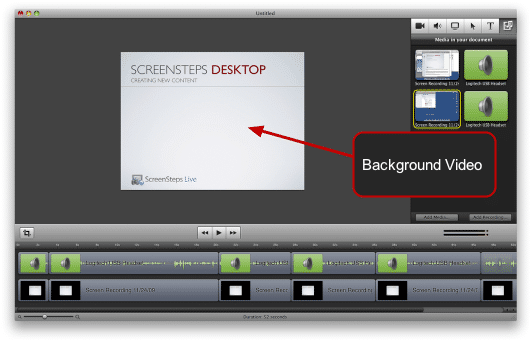
Be sure to watch the video above so you know what we are trying to accomplish in this tutorial. To recreate the effect above you need to have first recorded your background video (in my case, a Keynote presentation).
Add Overlay Video
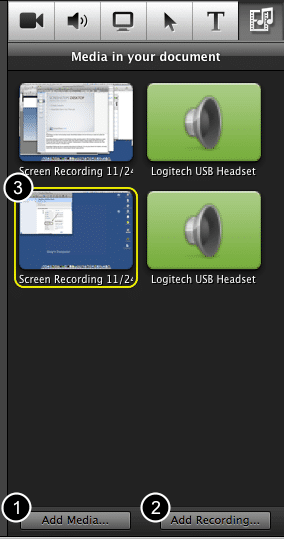
Next we need to add the overlay video. To do this click Add Media (1) if you already have a recording, or Add Recording (2) if you need to do a new recording. The new recording I have added is selected in the image above (3).
Expand Your Timeline
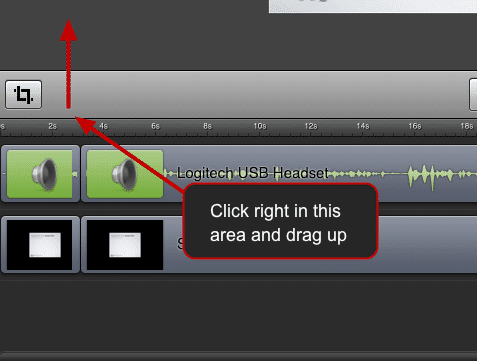
We are going to add another track so we want to expand our timeline. Click on the top bar and drag up.
Drag 2nd Video Onto Preview Area
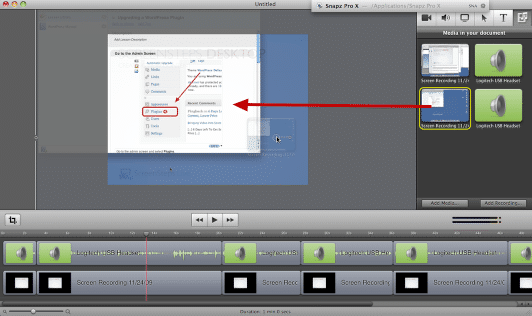
Drag the 2nd video you created onto the preview area.
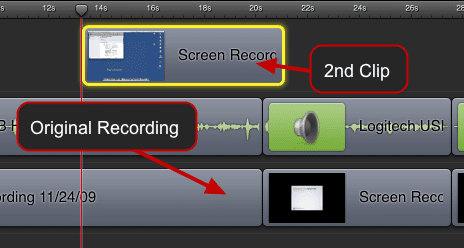
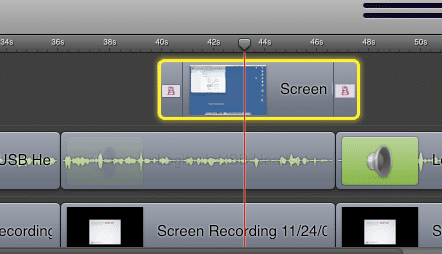
Your Timeline Should Look Something Like This
You should now see your 2nd clip on top of everything. This is important. Screenflow displays elements from top to bottom so you need this 2nd clip to appear above the other clips.
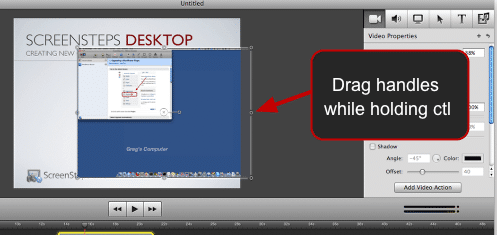
Crop and Resize 2nd Clip
Crop and resize the 2nd clip. Resizing is very straight forward. Just adjust the zoom level of the clip in the Video Properties.
Cropping is a little trickier. You need to click on the handles while holding the ctl key to crop the edges.
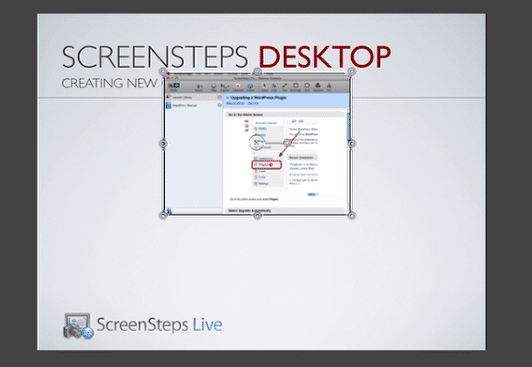
You should end up with something like this.
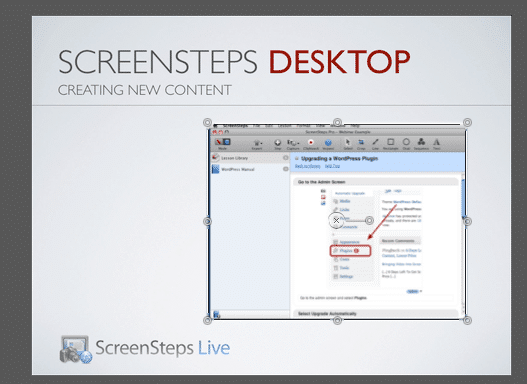
Reposition and Resize
Drag the video where you would like it to appear and resize it to fit in the space.
Add Rotation and Reflection

We could leave the overlay video as is, but adding a little rotation and reflection can add a cool effect. Adjust the Y rotation (in this case -37). Then check the Reflection box.
Add Starting and Ending Transitions

Position Clip
Now just position the clip where you want it to appear in the timeline. You will have a nice overlay video that will fade up, slightly rotated, with a reflection.
You can use this same technique with other elements as well, not just an overlay video. I will sometimes do this with still images that I import into my project such as screenshots, arrows or other graphics.