
.png "Jonathan DeVore")
What is a decision tree?
A decision tree is a structured way to guide someone through a process by asking a series of questions and mapping out the correct path based on the answers.
Each question represents a decision point. Each answer leads to the next step—either another question or an action.
It’s called a “tree” because each decision creates branches. As you move through the process, those branches guide you to the right outcome.
At its core, a decision tree answers one simple question:
“Given this situation, what should I do next?”
Why decision trees are essential for complex procedures
When teams sit down to document their procedures, something interesting tends to happen.
Processes that felt “simple” suddenly reveal edge cases. And processes that felt “too complex to document” start to take shape once you break them into decisions.
Even something as basic as making a peanut butter and jelly sandwich isn’t as linear as it sounds:
- Do you have jam or jelly?
- Jam -> proceed
- Jelly -> stop!
- What type of bread are you using?
- Wheat -> remove the crust
- White -> keep the crust
Now imagine more complex procedures in your organization:
- Processing a refund
- Troubleshooting a technical issue
- Handling a compliance-related request
These situations aren’t linear. They include conditions, decisions, and edge cases. That’s where decision trees shine.
A decision tree guides someone through a process by asking a series of questions and directing them to the next step based on their answer. Instead of presenting every possible scenario at once, it narrows things down one decision at a time.
Why decision trees work for complex procedures
Most business processes aren’t linear. They depend on context.
A customer wants a refund. That sounds simple, until you start asking:
- Was it within 30 days?
- Has the product been opened?
- Has it been used?
Each answer changes what should happen next.
Without a decision tree, employees are left to interpret instructions, remember rules, or ask for help. That’s where inconsistency and mistakes happen.
Decision trees remove that ambiguity. They take everything that could happen and organize it into a path that someone can follow step by step, decision by decision.
A common mistake when documenting procedures
The biggest issue teams run into isn’t complexity; it’s missing decisions. Procedures often fall apart in the gaps between what’s written and what actually happens.
For example:
“If the customer has their order number, look it up.”
That sounds reasonable... until the first time the customer doesn’t have it.
Now the employee has to stop and decide what to do on their own.
Decision trees prevent this by forcing you to fully define the process:
- What questions need to be asked?
- What are all the possible answers?
- What should happen in each case?
If something is unclear or incomplete, it shows up immediately.
How to create a decision tree (5 steps)

Creating a decision tree is less about diagramming and more about thinking clearly through how decisions are made in a process.
Step 1: Choose how you’ll build your decision tree
Before you start mapping decisions, you need to decide how you’ll represent them.
There are three common approaches teams use and the difference between them really comes down to one question:
Can someone use this while they’re actually doing the work?
Flowcharts
Flowcharts are the most traditional way to build a decision tree. Using tools like Lucidchart, Miro, or Visio, you can map out every question and branch visually.
This is especially helpful when you’re trying to understand a process or explain it to others. You can see the full picture: every path, every decision, all in one place.
But that strength can also be a weakness.
When someone is on a call with a customer or trying to resolve an issue in real time, a flowchart requires them to:
- Scan the diagram
- Find their starting point
- Trace the correct path
It works but it adds friction at the exact moment they need to move quickly.
Bullet-based decision trees
Another common approach is to build decision trees using nested bullet points in tools like Google Docs, Word, or Notion.
This is often the fastest way to get something documented. You can quickly capture questions and answers without worrying about formatting.
But as the decision tree grows, it becomes harder to use:
- Employees have to scroll to find the next step
- They have to keep track of where they are
- It’s easy to lose context mid-process
Again, the logic is there, but using it in real time takes effort.
Interactive decision trees (ScreenSteps)
A more effective approach is to build decision trees designed for use while work is actually happening.
With ScreenSteps, the decision tree is presented one step at a time:
- The employee sees a single question
- They select an answer
- The next step appears immediately
There’s no scanning, no searching, and no figuring out where to go next.
This matters most in real-world situations:
- When someone is talking to a customer and needs to respond quickly
- When a new employee is still learning the process
- When the procedure has multiple variables and paths
Instead of slowing the employee down, the decision tree supports them in the moment of need. It reduces cognitive load and keeps them focused on the interaction or task at hand.
The decision tree's logic doesn’t change. But the experience of following it becomes much smoother.
▶️ Watch a 6-minute overview of the ScreenSteps platform.
Step 2: Identify the trigger
Every decision tree starts with a trigger. This is the moment when someone needs to begin the process.
This is easy to overlook, but it’s critical. If the trigger isn’t clear, employees won’t know when to use the decision tree, or they may use the wrong one entirely.
Ask yourself:
- What task is the employee performing?
- What situation is the employee responding to?
Examples might include:
- A customer requesting a refund
- A ticket is being escalated
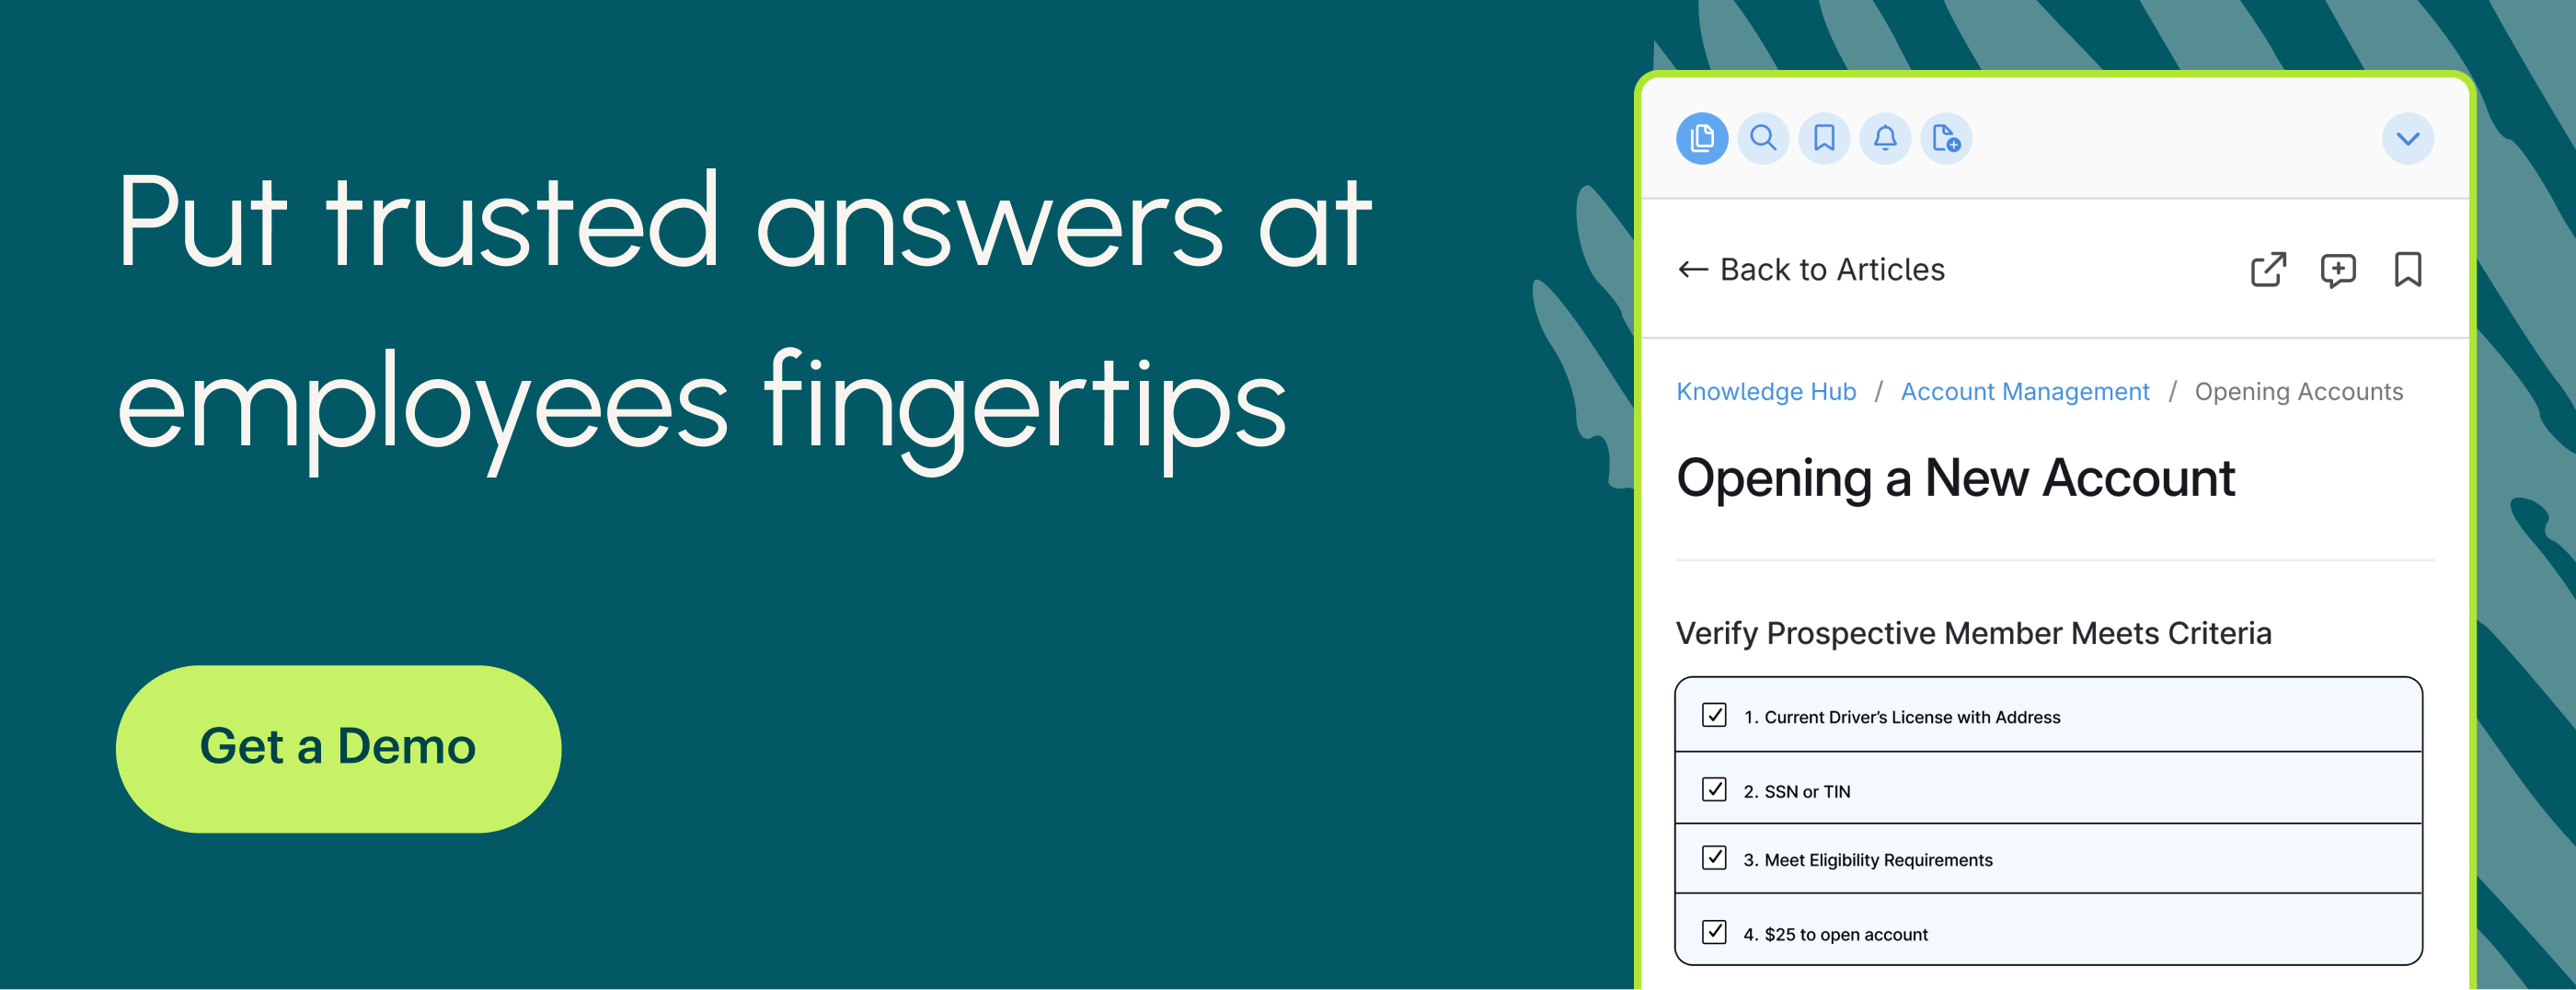
- A member opening a new account
The trigger sets the context for everything that follows. It ensures the decision tree starts at the right place and is used at the right time.
Step 3: Identify the key questions
Decision trees are built on questions. Each question represents a variable that affects what should happen next.
The challenge isn’t necessarily writing the questions; it’s uncovering them.
A good way to do this is to walk through the process with someone else and talk it out. As you go, pay attention to the moments where you naturally pause and ask:
“What do we need to know before we decide what to do next?”
In a refund process, that might lead you to questions like:
- Was the purchase within 30 days?
- Has the product been opened?
- Has it been used?
Each question narrows the situation and moves the employee closer to the correct action.
Step 4: Define all possible answers
Once you have your questions, the next step is to define every possible answer.
Most of the time, this is straightforward — yes or no. But the important part is making sure every answer has a defined path forward.
If even one answer is missing, the decision tree becomes unreliable. Employees will hit a dead end and have to figure things out on their own.
A helpful way to enforce this is to phrase everything as a question,not an if/then statement.
Instead of writing:
“If the customer has their order number…”
Write:
“Does the customer have their order number?”
That small shift forces you to define both outcomes and ensures the decision tree works in every scenario.
Step 5: Map what happens next
Every answer leads somewhere. It either takes the employee to another question or to a final action.
Your job is to make that next step completely clear.
For example:
A customer requests a refund. You ask: Was the purchase within 30 days?
- No → the customer is not eligible
- Yes → continue
From there, you ask the next question, and so on.
At the end of each path, include exactly what the employee needs to do:
- The steps to complete the task
- Any systems they need to use
- What they should communicate (if applicable)
A decision tree is only complete when someone can follow it from start to finish without stopping to think, “What do I do now?”
Final thoughts: deliver decision trees wherever work happens

Decision trees are powerful because they mirror how decisions actually happen.
Instead of asking employees to interpret a set of instructions, they guide them through a process, one question at a time, helping them get to the right answer based on what’s actually happening in the moment.
But their impact goes even further when they’re delivered where work is happening.
When a decision tree lives in a separate document or diagram, employees still have to pause, switch contexts, and figure out how to apply what they’re seeing. That small amount of friction adds up, especially in fast-paced environments like customer support or operations.
When decision trees are embedded directly into the tools your team is already using, everything changes.
With the ScreenSteps Sidekick browser extension, employees can access and follow decision trees without leaving the system they’re working in. They can move through questions and actions in real time while interacting with a customer or member or completing a task.
The structure of the decision tree stays the same. But now it’s delivered exactly where it’s needed.
And that’s what makes it truly effective.
Want to build decision trees your team will actually use?
If your team is documenting procedures with flowcharts or static documents, you can make those decision trees easier to follow in real time.
ScreenSteps helps you build decision trees that guide employees step by step so they always know what to do next.